Showing posts with label Children's crafts. Show all posts

Sunday, March 27, 2016

Mihi inspired cushion - my story

I decided to create a personal story relating to my mihi and added extra elements such as paua to create a real treasure 'taonga'.

The cushion was divided into four squares and each square represents a connection to my whakapapa, whānau and mihi.

Felt was the main feature specification, as it doesn't fray. It is easy to cut and shape and can be used with the die cutting machine.

Fabric paint was used for all the painting including the stencilling and cotton buds to create the spotted kiwi.

Saturday, March 12, 2016

Rainbow Coloured Tie Dyeing T shirts

Wow this is a lot of fun... use sauce or mustard bottles and fill with your favourite dye colour. Twist your T into a wonderful spiral and tie with rubber bands and place over a sieve or similar on a bucket for dye to drip. 

Wrap in plastic for a few hours and wash on a gentle cycle with salt to help set the dye... and viola! Amazing tie dyed T shirts! Try dyeing some natural fibre textiles to create your own hats, bags and accessories!

Cover in glad wrap to allow the dye completely saturate the fibres of the cotton.

Use plenty of rubber bands


SaveSave

Monday, September 14, 2015

Easy Shape Toys


These toys are easy for beginner sewers and children to create....use basic shapes square, oval, rounded rectangle. We added die cut shapes and buttons for eyes and features. Have fun by mixing and matching patterned fabrics


Monday, October 28, 2013

Small Soft Toys that kids can create!

Year 7/8
I used these shapes to create some different ideas that students could use to make a model. The focus was to develop and gain confidence learning skills and techniques that they will require to make their final outcome. The objective was also to offer as much choice and give the students opportunity to create their own designs and  to take ownership of their learning.


Saturday, May 11, 2013

Electronic Textiles Workshop for Girls

I had the opportunity to attend a weekend workshop at University of Canterbury,  
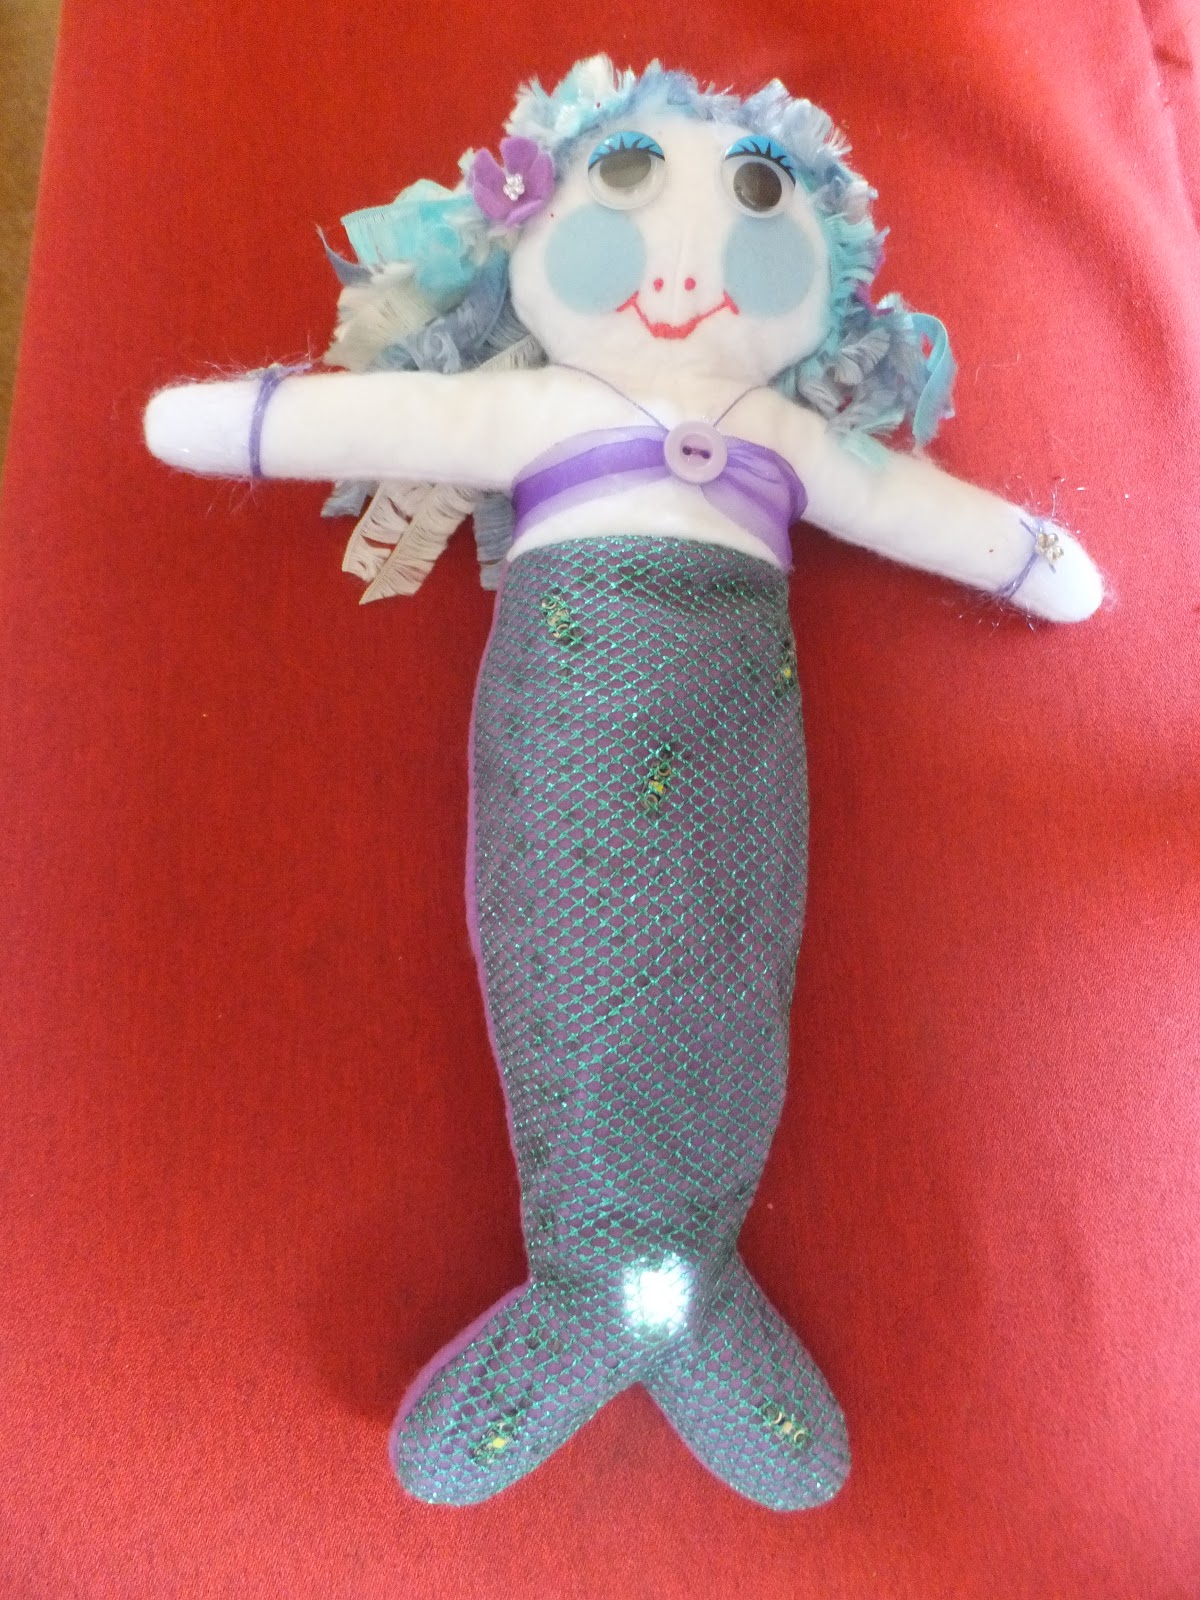
which incorporated electronics and textiles and used a LilyPad microcontroller to code and design a circuit for  LED lights.
The objective of the course was to encourage girls to experience electronics combined with computer science, so they gain confidence and knowledge in these areas. This experience will hopefully open more learning opportunities and students will continue to explore these subjects in the future.
LilyPad  microcontroller

The workshop was provided by a group of visiting lecturers from Longwood University, United States.  Students that attended the workshop were from classes -  Years 7-13.
On the first night we planned and sketched our designs of what were going to make. The next day we cut our design from felt and stitched our circuit using the special conductive thread attaching the LilyPad controller and battery pack. We designed our ciruits for our LEDS and connected them at the positive with the conductive thread to separate pins on the LilyPad. Finally we completed the circuit by stitching all the negative LEDS together to the battery pack.


Above: Stitching the LEDS and components to the creation.


We used Arduino software on PC computer to programme each pin on the LilyPad to decide on time delay and order that they would light up. This was saved and then the LilyPad was connected to the computer to download to our creation.

The creation was then completed.


I used 6 LEDS in my mermaid design.


A  'Teddy' made by a Year 8 student - he has light up ears too!


Monday, May 6, 2013

Student's Creative Outcomes - Year 7/8

In design, students were given a brief and specifications to creative an original one off design. This gave them the flexibility  to choose what they were going to make.The outcomes below show that the students have used many design concepts. They have manipulated materials, combined a variety of techniques and used colour to create and enhance their designs. 


Permanent pens and stencils:


These designs were created by using permanent pens and stencils.
The students designed their own fabric using this technique and created unique cushions. 
 

Tie dyed designs


Tie dye fabric was made by students using different folds and techniques.
Students used applique and other specifications to create original outcomes.
 

Designs using: Cuttlebug, machine embroidery, and a variety of fabrics and notions.

Front
Back


An original crafted bag independently made by a student. The fabrics are all different: plain and pattern, but  because they are the same colourway they work well together. The lime adds a highlight to the bag and even a piece of hand made, green tie dye has been used on the back.


This student's choice of  colour combinations and complimentary ribbon trims make this cushion an excellent example of how colours can be mixed and matched. 


 This cushion has Cuttlebug flowers/circles, 'Buzzy Bee' applique, tie dye, letter beads, button and lace. This design was planned well, so the tie dye to matched and the  'Buzzy Bee' theme was repeated on both sides.


This design has a variety of materials including: recycled onion bag,  that has been added for a special feature.


An original neck cushion with an Olympics theme.

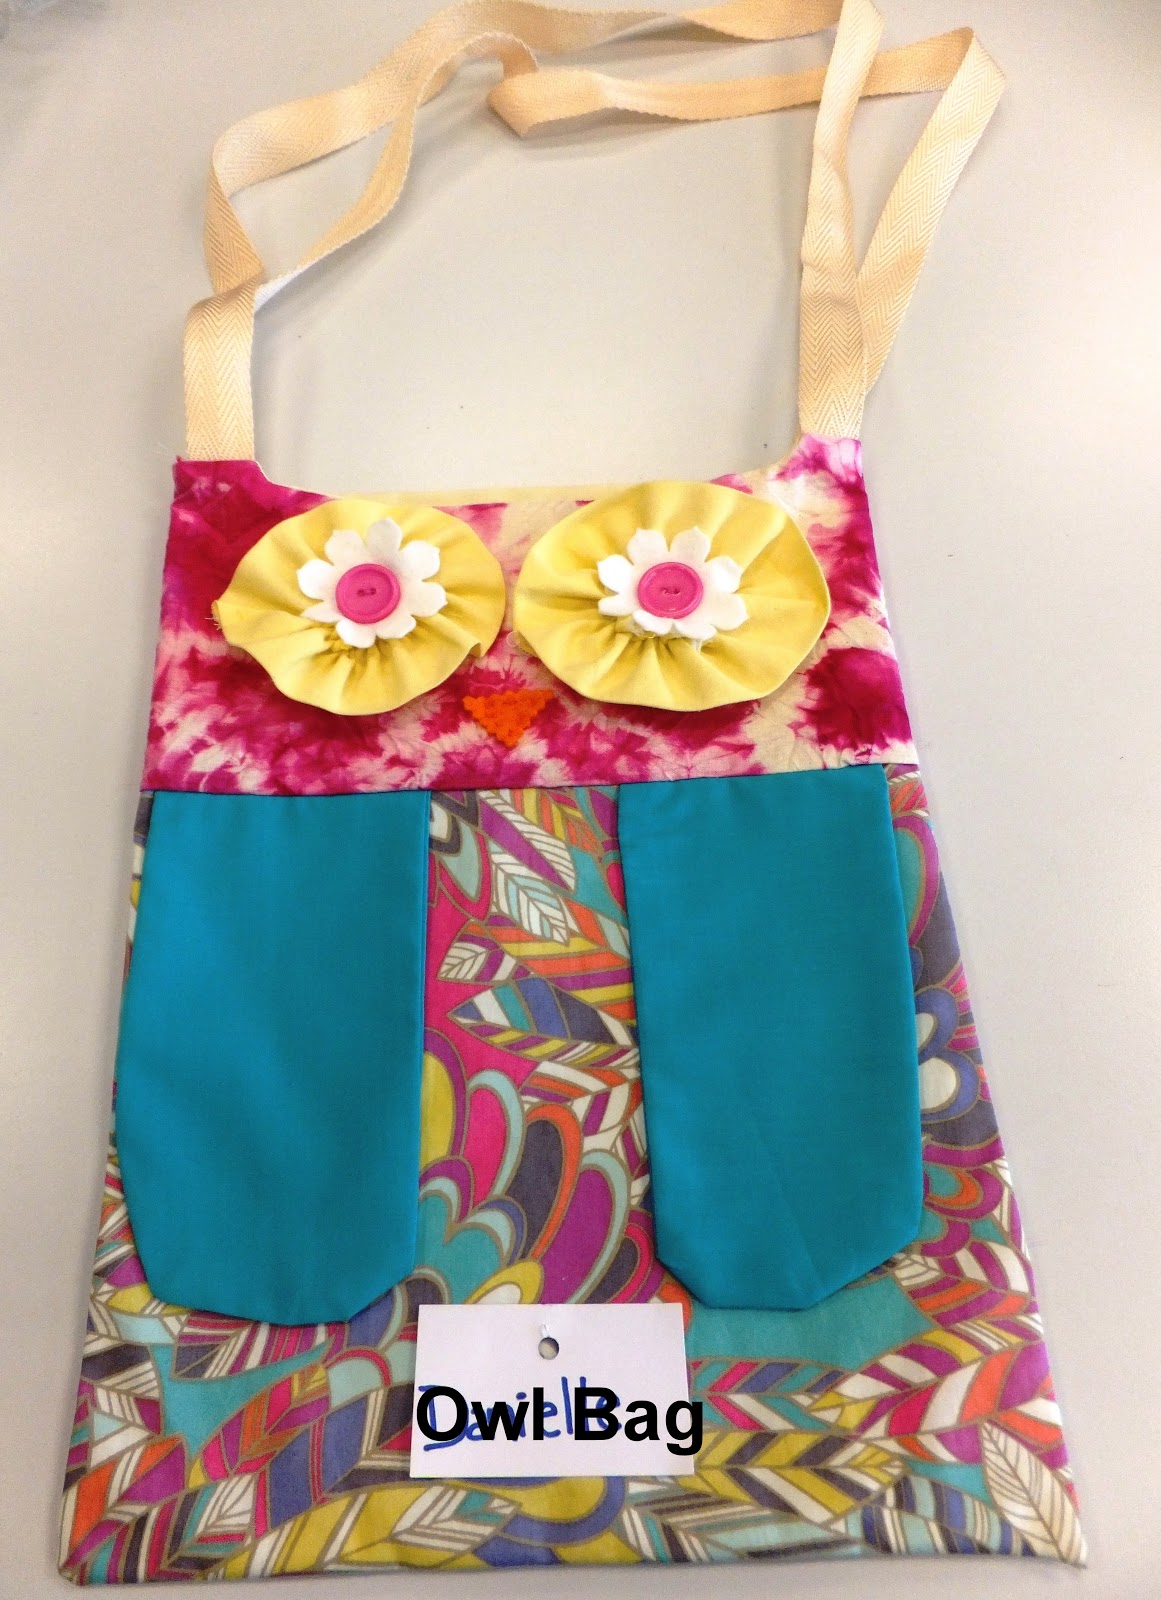
Below:  a bag design with die cut owl and centre feature made of felt.

Back
 
Front
 
 
This design has decorative stitched tie dye patches to form the feature cross pattern.


This bag has been created using a creative mix of patterned and coloured fabric.


Thursday, July 26, 2012

Bright bookmarks for classes years 7/8

I designed these bookmarks for students to make for their books. They had fun designing and making bright bookmarks using craft punches and rubber stamps.

Wednesday, July 25, 2012

Notebooks makeover

Covered notebooks - use scrapbook papers, punches, stamping, splitpins and ribbon.